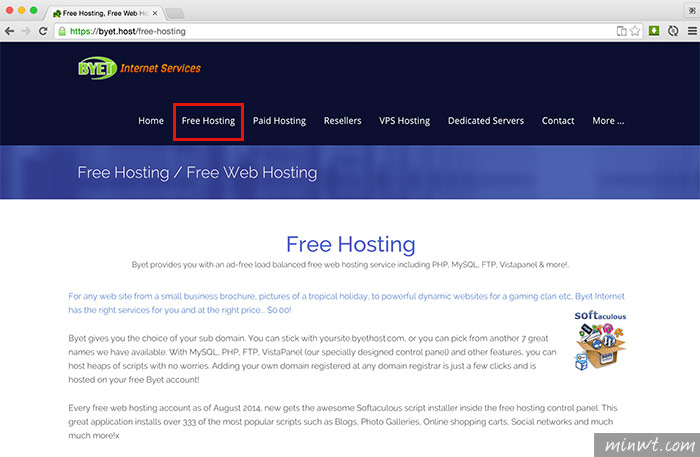
Byethost:
Step1
進入申請畫面後,將畫面向下拉。
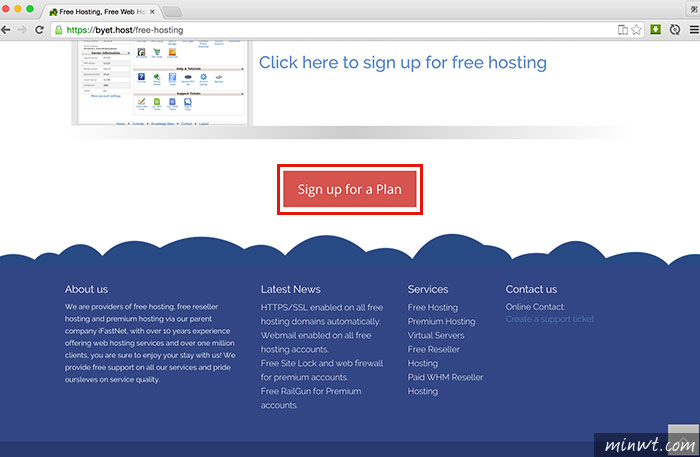
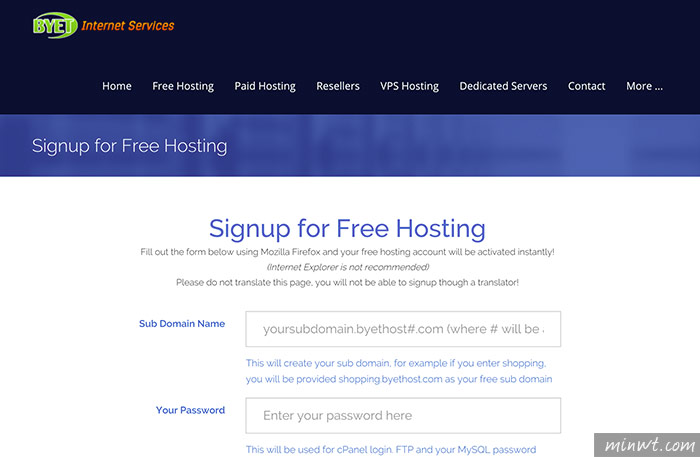
Step2
再點下方的Sign up for a Plan鈕。
Step3
接著分別輸入,想申請的域名、帳密、密碼、Email,這樣就可完成註冊。
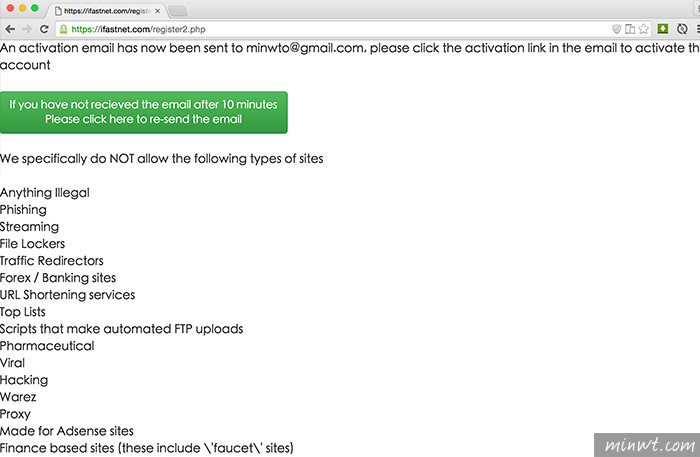
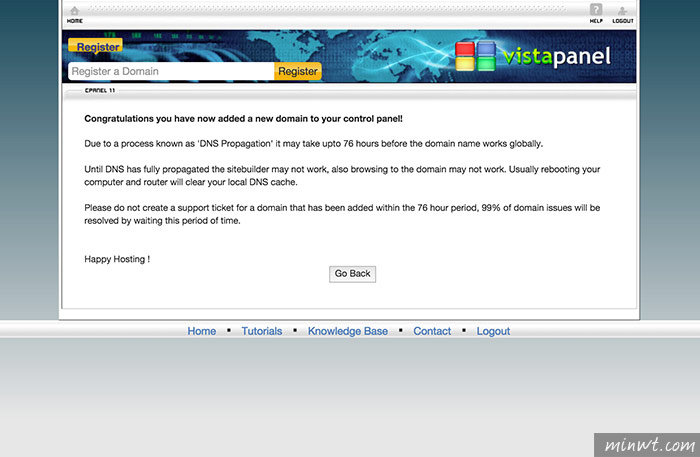
Step4
當把表單送出後,會看到此畫面,這時回到剛所輸入的信箱,就會收到啟用信,若沒收到的話,再按畫面中的綠色按鈕。
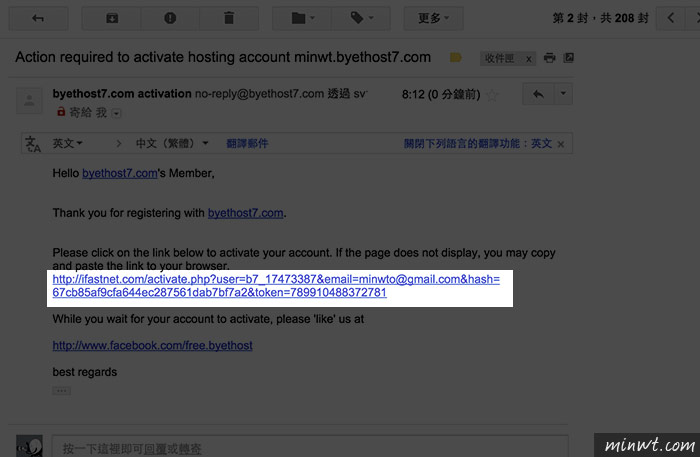
Step5
接著點一下信中的連結,立即就可啟用剛所註冊的帳號。
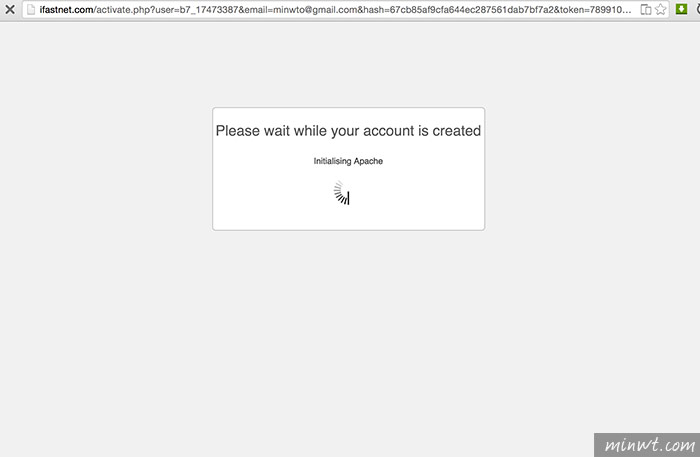
Step6
這時就會開始建立帳號。
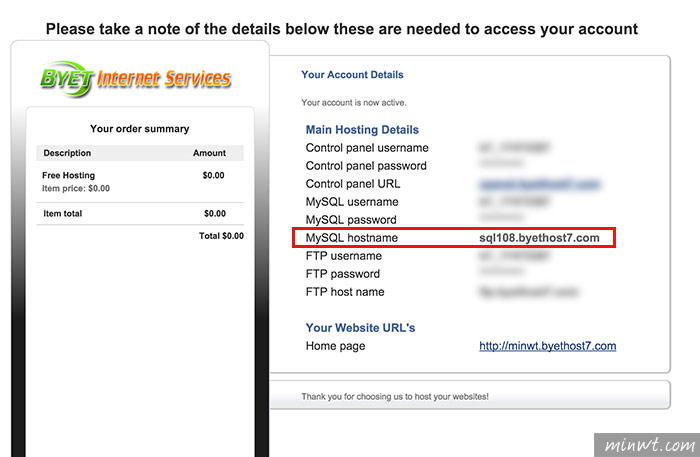
Step7
過一回建立完成後,就會出現所有站台的相關資訊,像是FTP、MySQL、Cpanel登入位置,而這邊得特別注意到的是,MySQL位置不是一般的Localhost。
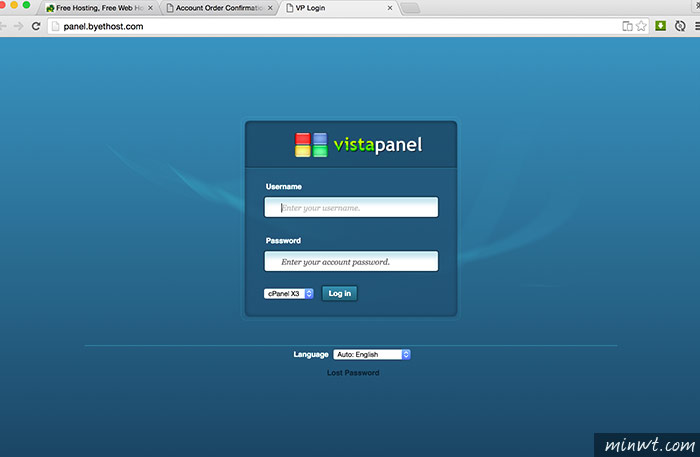
Step8
接著登入Cpanel後台管理。
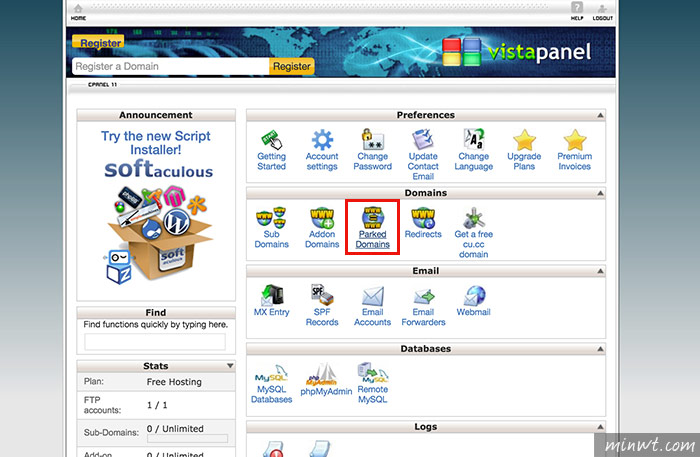
Step9
這就是Cpanel管理界面,全圖形化操控簡易,接著先來綁定一下網域,點一下Parked Domains圖示。
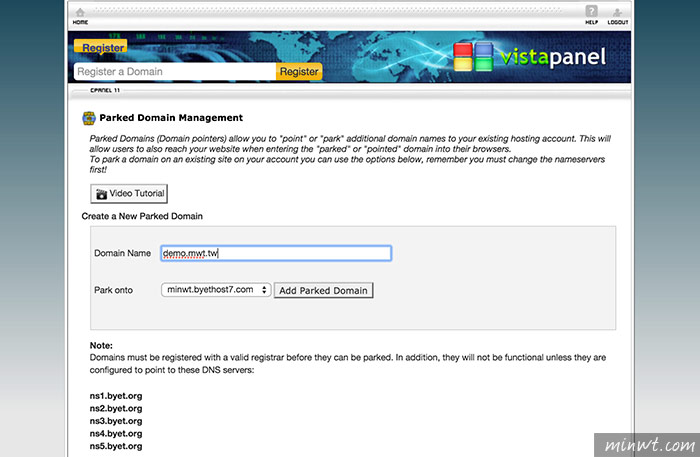
Step10
接著輸入要指定的域名。
Step11
這樣就把域名綁定進去了。
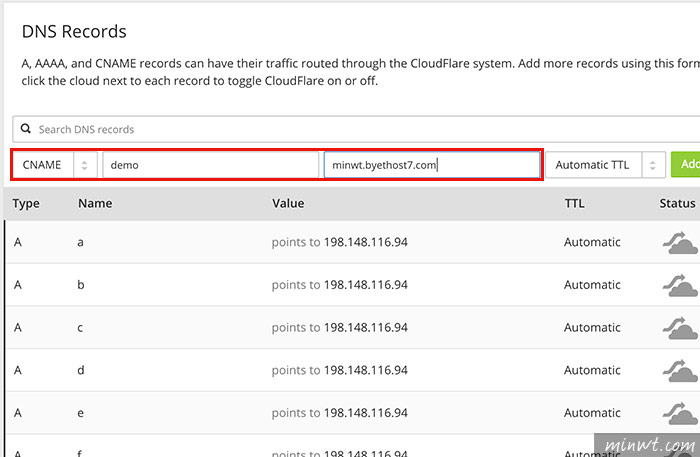
Step12
接著到DNS管理的地方,建立一個CANME,前方打子域名稱,後方打原來申請的網址名稱。
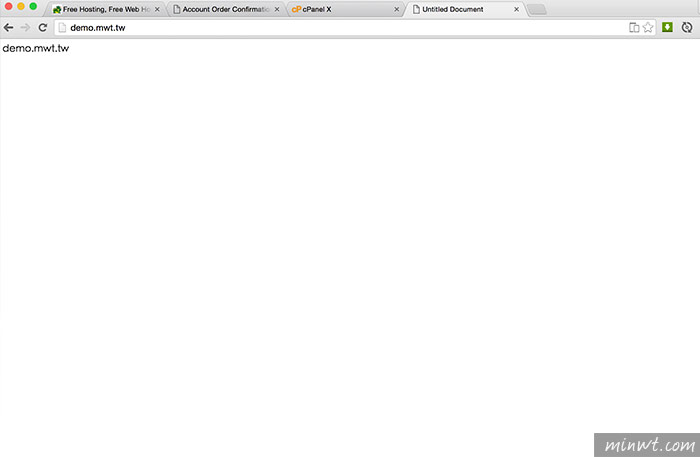
Step13
完成後,以及子域名來說,應該十來分就生效了,當生效果直接打剛所建立的網域名稱,這時就會變成自己的域名啦!這樣即便下回換主機也不用擔心域名不同,而造成流量流失的問題。
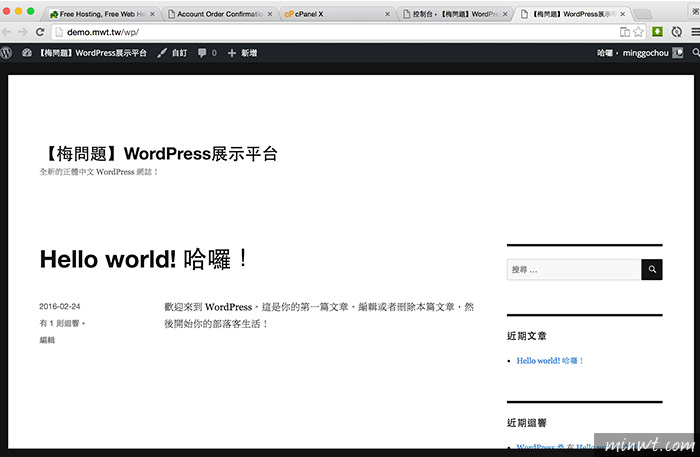
Step14
甚至用來架設WordPress也完全沒問題啦!